Embedding shoutouts and customising
Step 2Getting started with embeds
Once you have created a few shoutouts, it's time to embed them to your website. It couldn't be easier, really.
Every account has its own unique embed link that you can use. It's as simple as embedding the given script tag into your website where you want the shoutout to appear.
Embedding shoutouts
Head on over to Step 2 to grab your unique embed code. It's a simple script tag that you copy and paste:
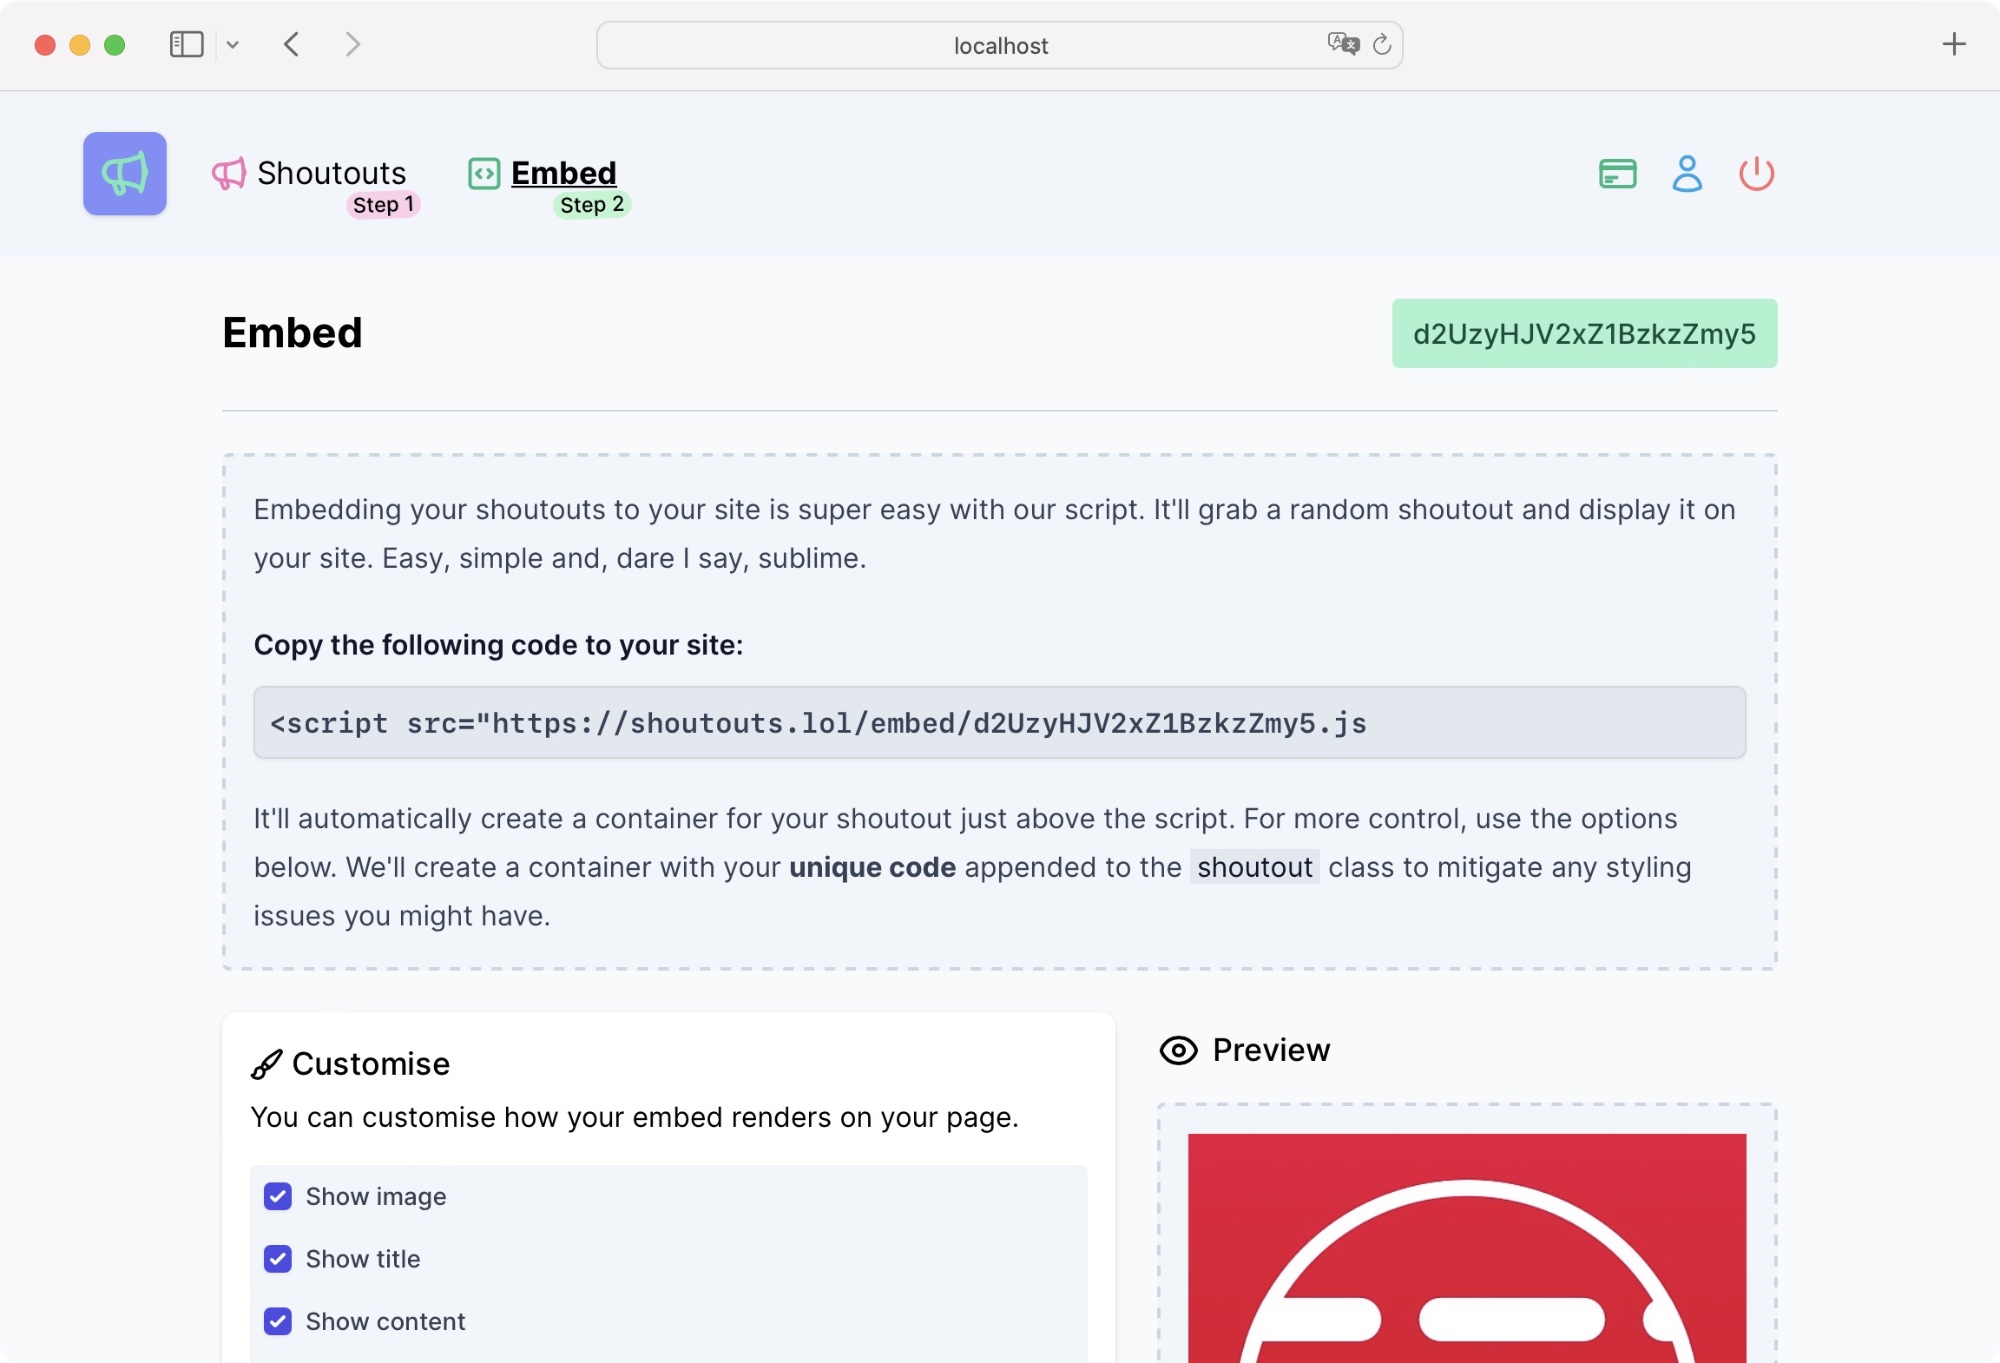
With the given script, just head on over to your website, and embed it anywhere in your template where you want shoutouts to display.
And that's it.
Whilst it's beyond the scope of the documentation, I am happy to point you in the right direction if you ever get stuck.
Note that your account needs to be verified before you can use embeds.
Customising embeds
Embedding the script alone might not be everything you're after, so there are a few options to help you customise your embed, only loading what you need, or even with custom styles.
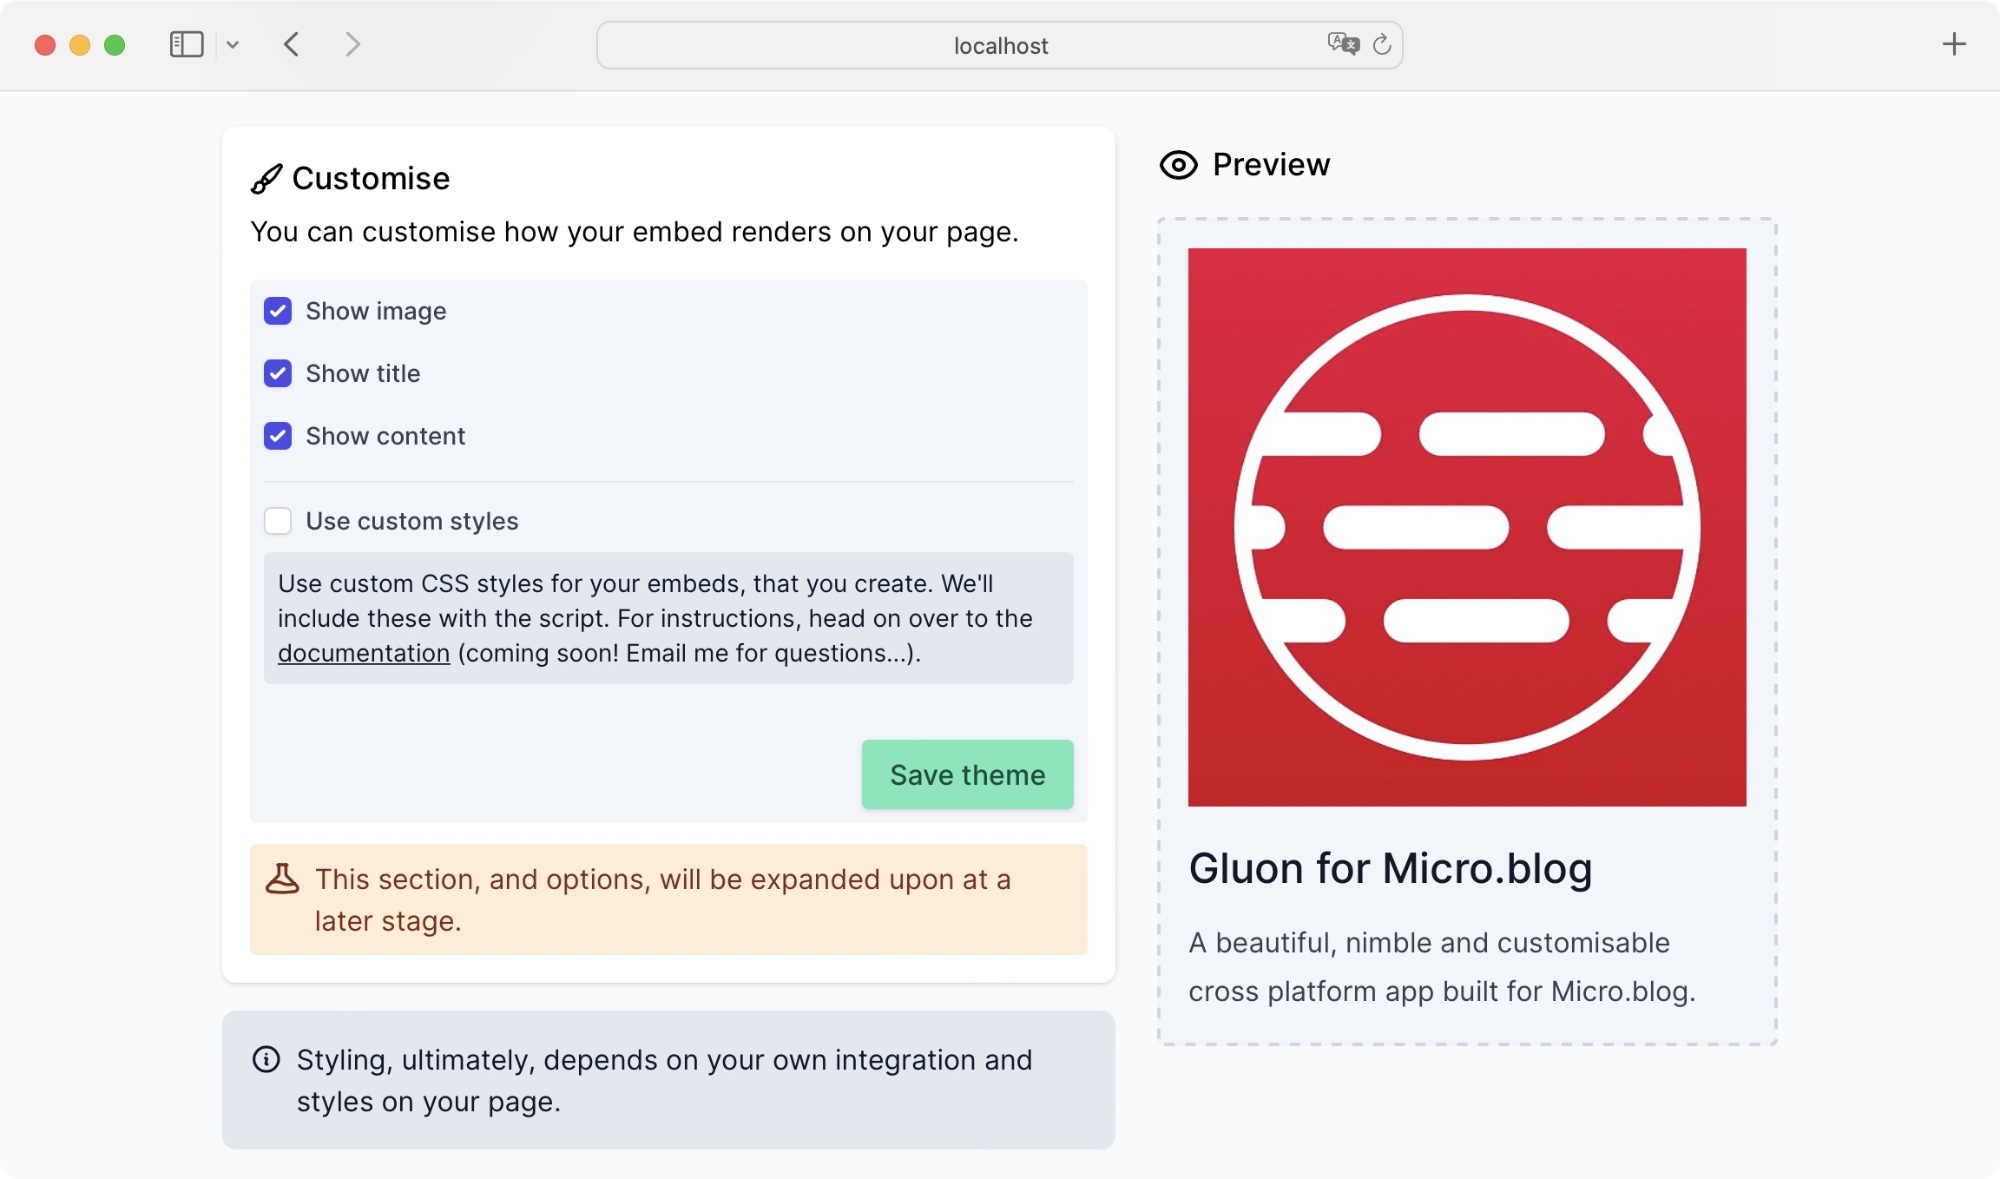
The editor here updates your preview instantly, so you can preview your options before saving them. We'll load a random shoutout from your list. If you'd like to preview a specific shoutout, you can select the shoutout in Step 1 and then select the "Custom" option.
Previews might not exactly match up to your own experience when you embed your shoutouts to your website. This is because we use different base styles on our website compared to yours. We use TailwindCSS.
Let's go over field by field, even though they are self explanatory.
Show image
This allows you to either hide or show the image. If no image was initially uploaded to your shoutout, then of course it won't show.
Show title
Sometimes words and an image are more than a title. For those times you can just hide the title. Easy, right?
Show content
On the flip side, maybe it's just an image you want to show. This option shows or hides the content. As usual, if none is set, we will never show anything.
Use custom styles

You can embed your own styles for the shoutouts. Useful if you don't want to mess around with any styling on your website... or if you don't have control over it.
Styles will always be saved even though you might, at a later stage, untick the option again. So feel free to experiment.
Here is what we embed. Any field with {{}} is the content we bring in from your shoutout (this is only for illustration purpose):
<div class="shoutout shoutout__{{your_embed_token}}">
    <div class="shoutout__container">
      <a href="{{url}}" target="_blank" class="shoutout__image">
          <img loading="lazy" alt="{{alt}}" title="{{title}}" src="{{image}}">
      </a>
    <h2 class="shoutout__title"><a href="{{url}}" title="{{title}}" target="_blank">{{title}}</a></h2>
    <div class="shoutout__content">
      {{content}}
    </div>
  </div>
</div>
Depending on the options you select above, or on your particular shoutout, some of these might not appear.
Image size
As a default your images will be served at a width of 500px wide. If you'd like to change this, you can add an optional parameter to your embed script.
Add ?width=200 or whatever size you need to the end of your .js embed code. We allow a maximum of 2000px. Trying to set anything higher will just be a waste of bytes.
And that's it.
We hope you find the current options useful.
Hoping to expand these more as we go.
Target specific element
By default your shoutout will appear where you placed the script. This, however, might not always be what you want and instead you want to target a specific element on the page.
To target any element by class name on your site, just add parameter of container, for example: ?container=shoutouts.
If you have a width override, as above, your embed code should look something like the below:
YOUR_EMBED_URL.js?container=shoutouts&width=80
What happens is that the embed script will look for this element and, if it finds it, replace the content within. It'll also add the default class names to your container. Note that it will override any contents.
JSON response
Now we're just getting crazy. If you want to get a JSON only response, instead of a script, just replace .js with .json.
We return a simple random shoutout, with the following data (this is just an example):
  {
    title: "shoutouts.lol",
    url: "https://shoutouts.lol",
    content: "\u003cdiv\u003eA place for everything you love, like or want to shout out about on your website. Just like this one.\u003c/div\u003e",
    image: "https://shoutouts.lol/...something...really...long...6IkJBaDdDRG9MWm05eWJXRj/shoutouts.jpg",
    alt_text: "Some alt text describing the image",
    extra_data: "Any extra data"
  }
All above properties will return null if no data is present, except the title and URL (they're mandatory when you create a shoutout).
And that's it. Go create!
About shoutouts.lol
Shoutouts is an idea I stole from myself when I created Sublime Ads. I wanted something even simpler that is more accessible to your casual web user without all the features.
Contact us: [email protected]
Incredibly OK™ software by Vincent Ritter