Creating shoutouts
Step 1Getting started
After you create an account, you'll be automatically on the Shoutouts screen. It'll be empty for now, so let's get started with your first shout out.
Shoutouts are things you want to shout out about on your website. May it be things you love, like your favourite social network, some random software developer (hi 👋), or just a tonne of affiliate links you have no idea where and when to show.
Shoutouts overview
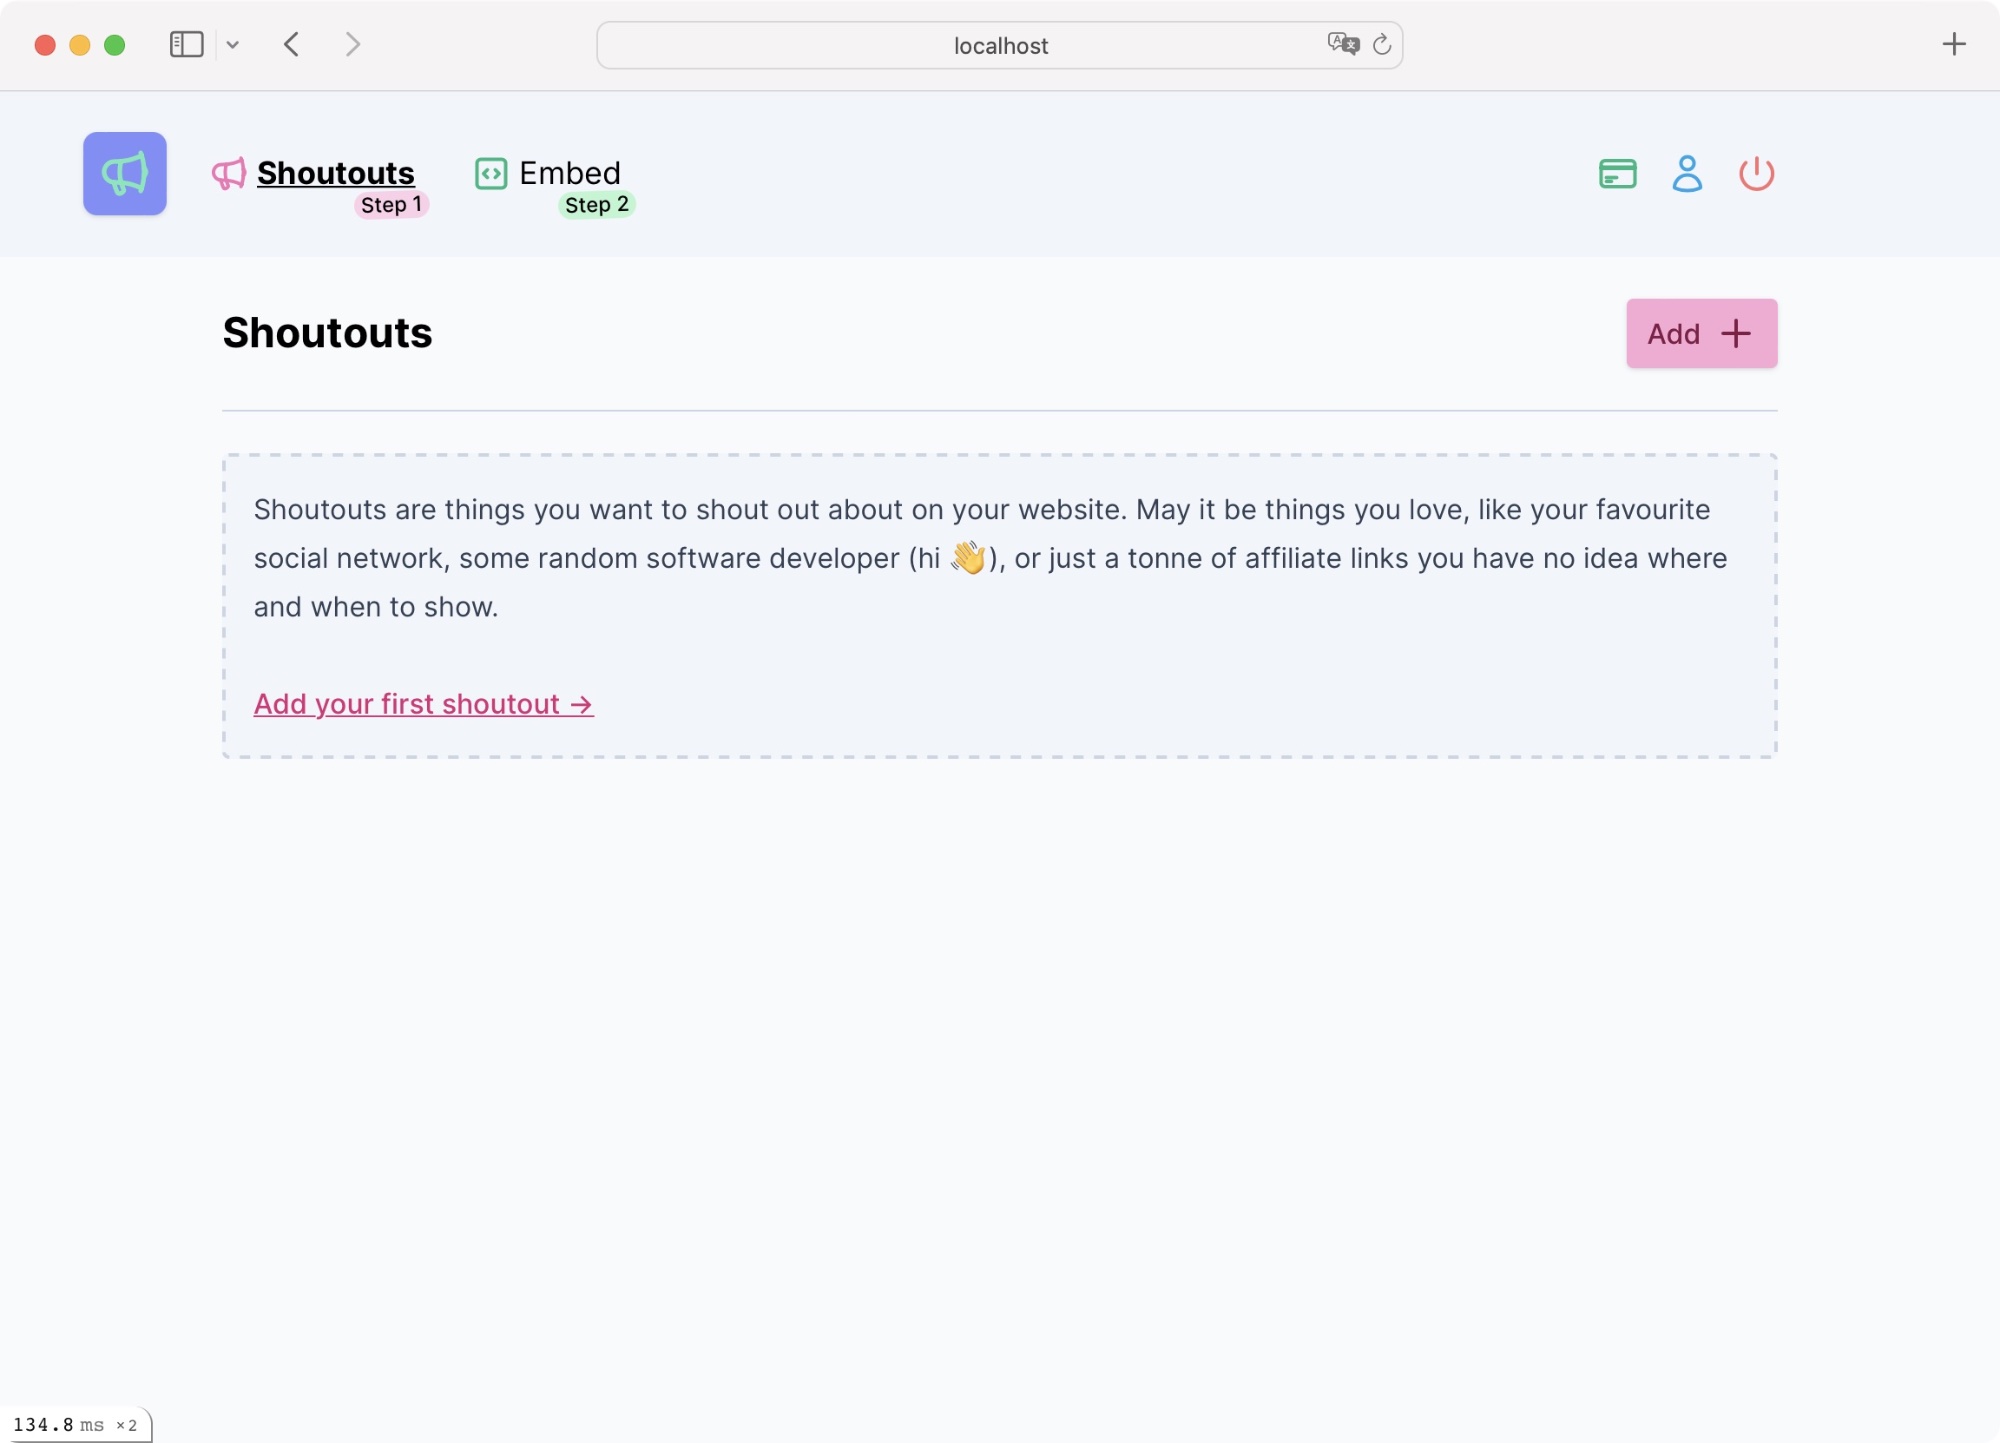
When there are no shoutouts you'll see a quick intro. Make yourself at home. Select the "Add +" button or the link in the intro to create your first shoutout.
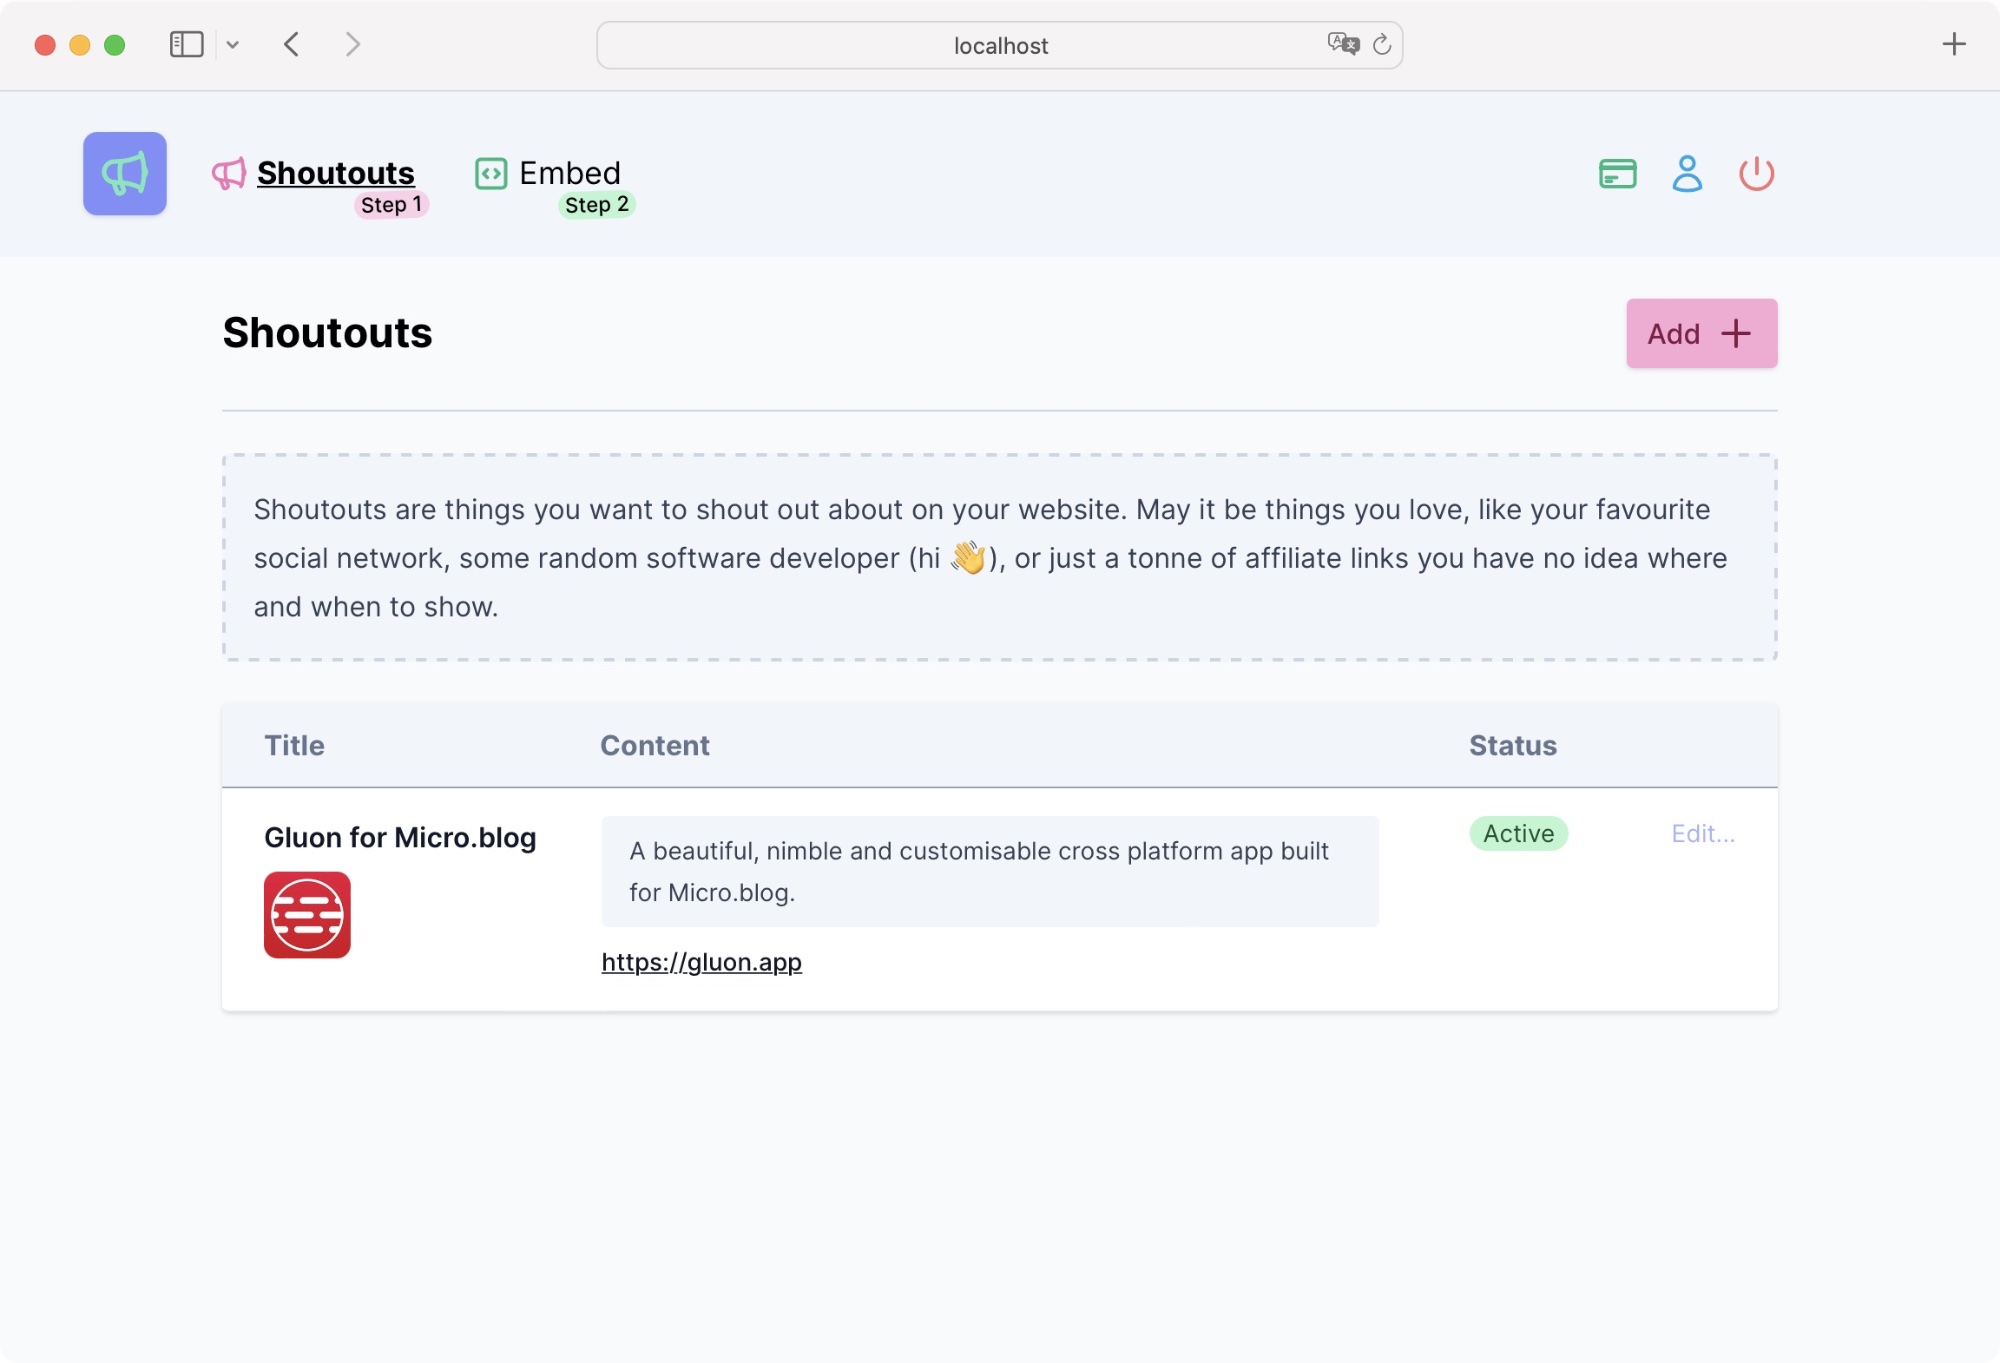
Once you have a few shoutouts under the belt, they'll show up in a nice list view.
Create a shoutout
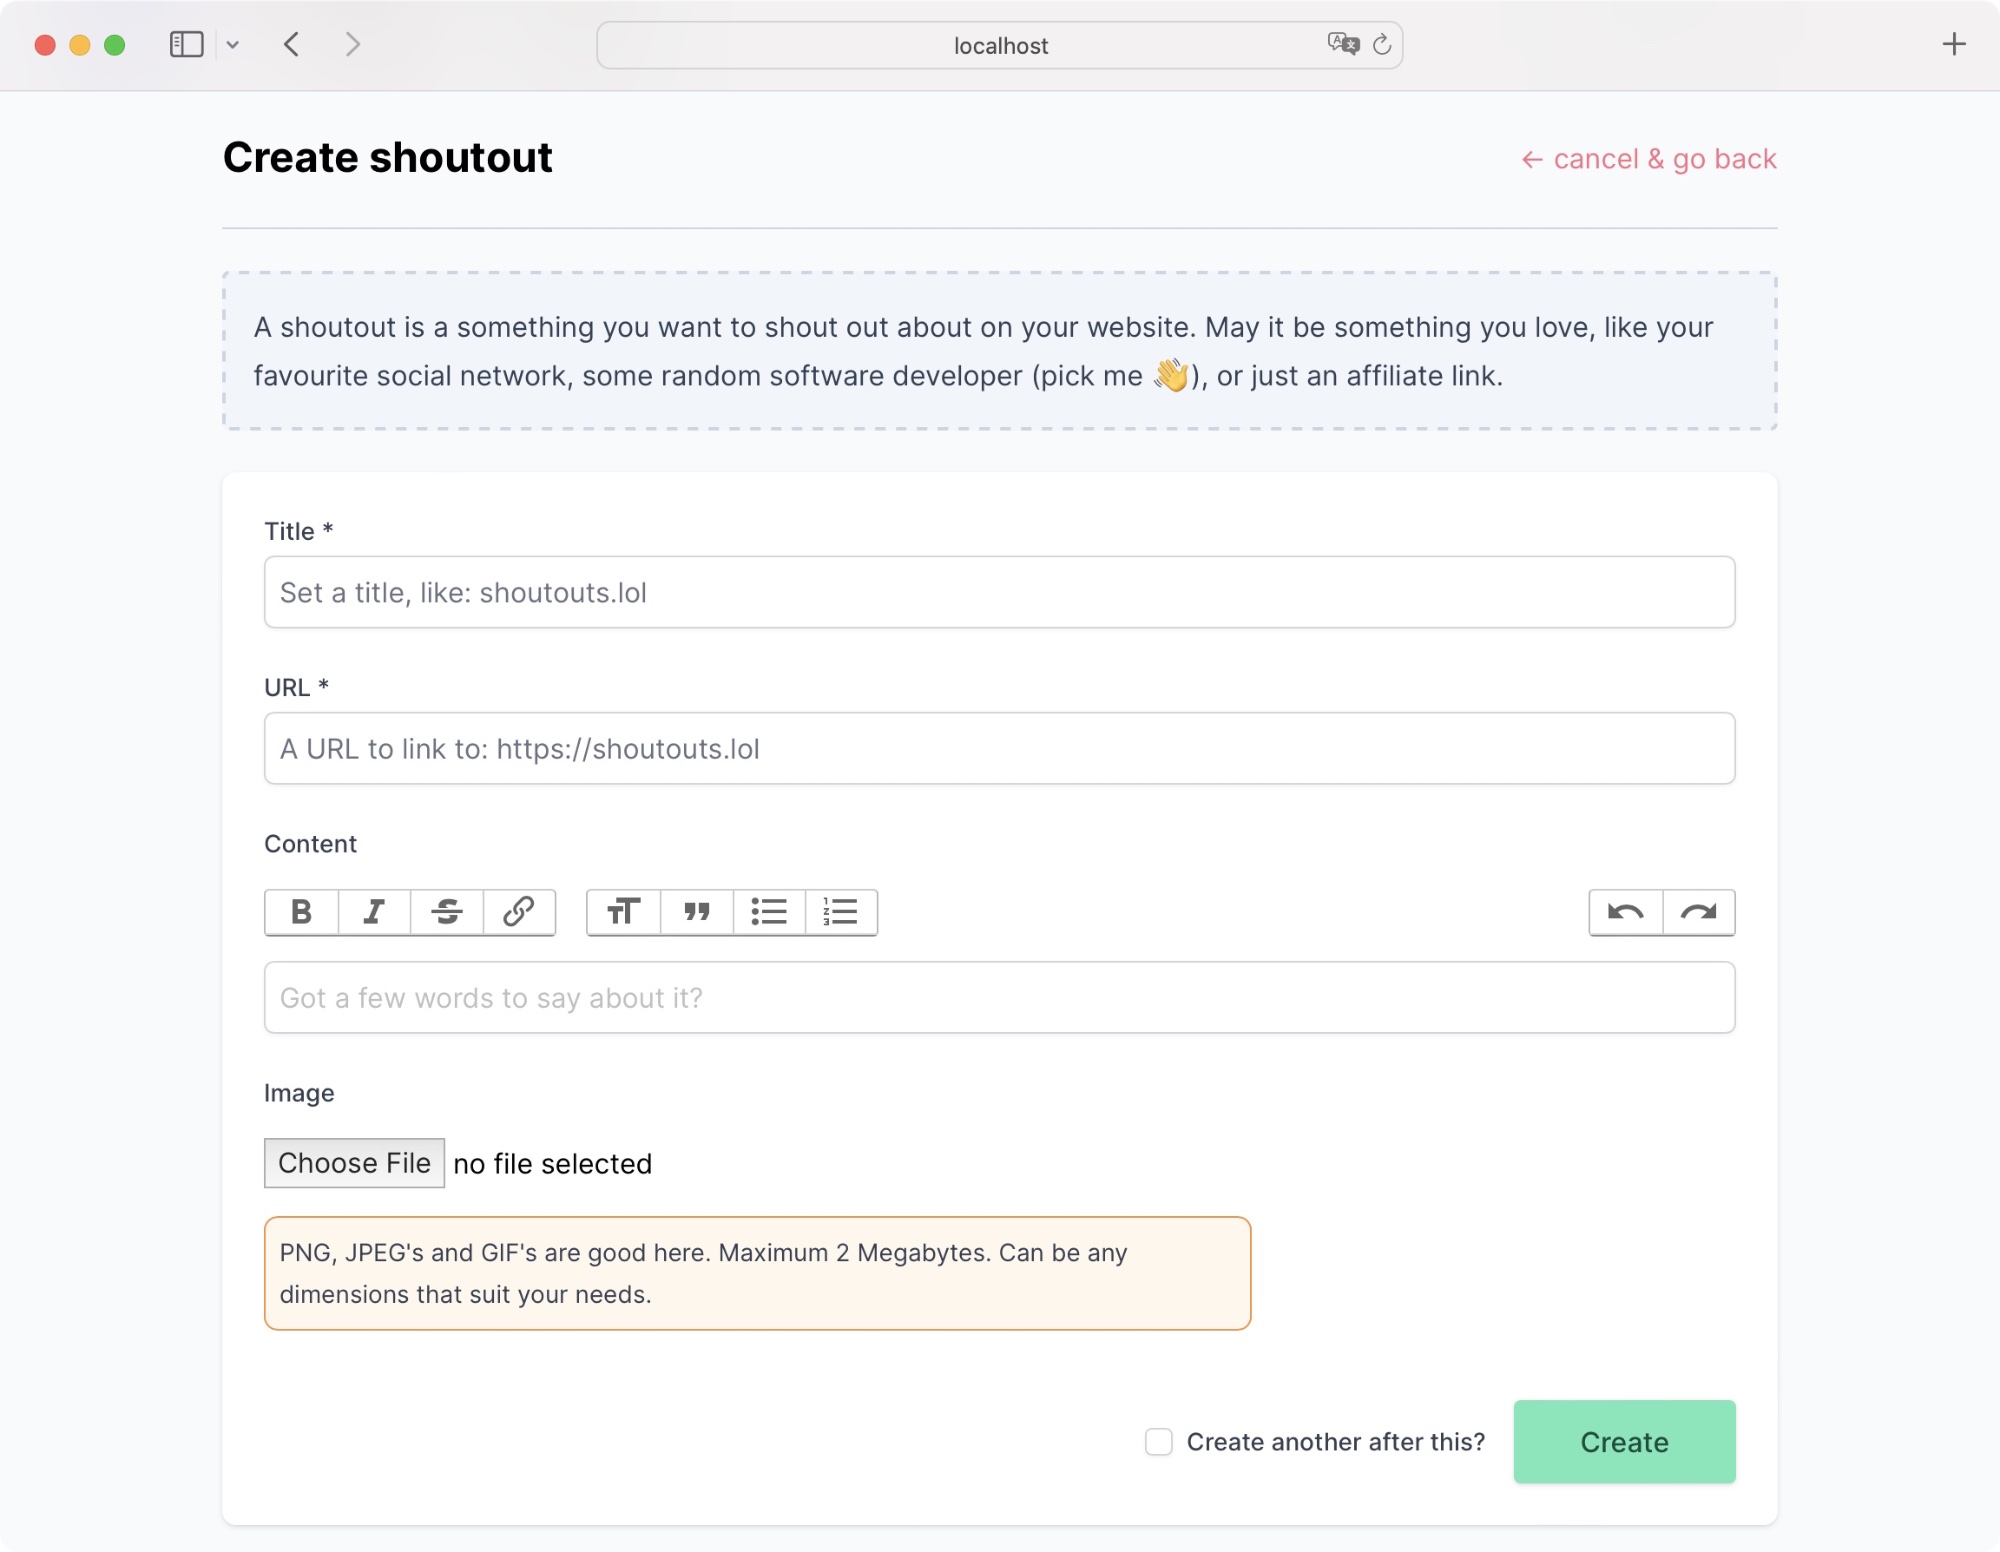
We've kept this simple for you. All you really need is a title of the thing you'd like to shout out about and a URL to link to.
Let's go over it field by field:
Title
required
The title of the "thing". For example: shoutouts.lol
URL
required
The URL to link to when they press on the title, or an image. These links go straight where you want them to. If it's an affiliate link, make sure to copy it correctly.
Content
You can optionally add some content to describe what you're linking to. It's basically free form, so you can do what you need. You can even link to other URL's within the text. It's really up to you.
Image
An image allows you to grab that extra bit of attention... or just to make it look nice. Add any image, may it be a JPG, PNG or even GIF. Just make sure it's not more than 2MB.
If you select an image, there is an additional option to add an accessibility description to the image. Great for screen readers.
Extra data
This is an optional field and allows you to add any extra additional data that you want to bring back in the JSON object or when creating a custom theme.
Create another?
There is an optional tick box, that allow you to select "Create another after this?". With that ticked, you'll come straight back to the create form so you can quickly add another one.
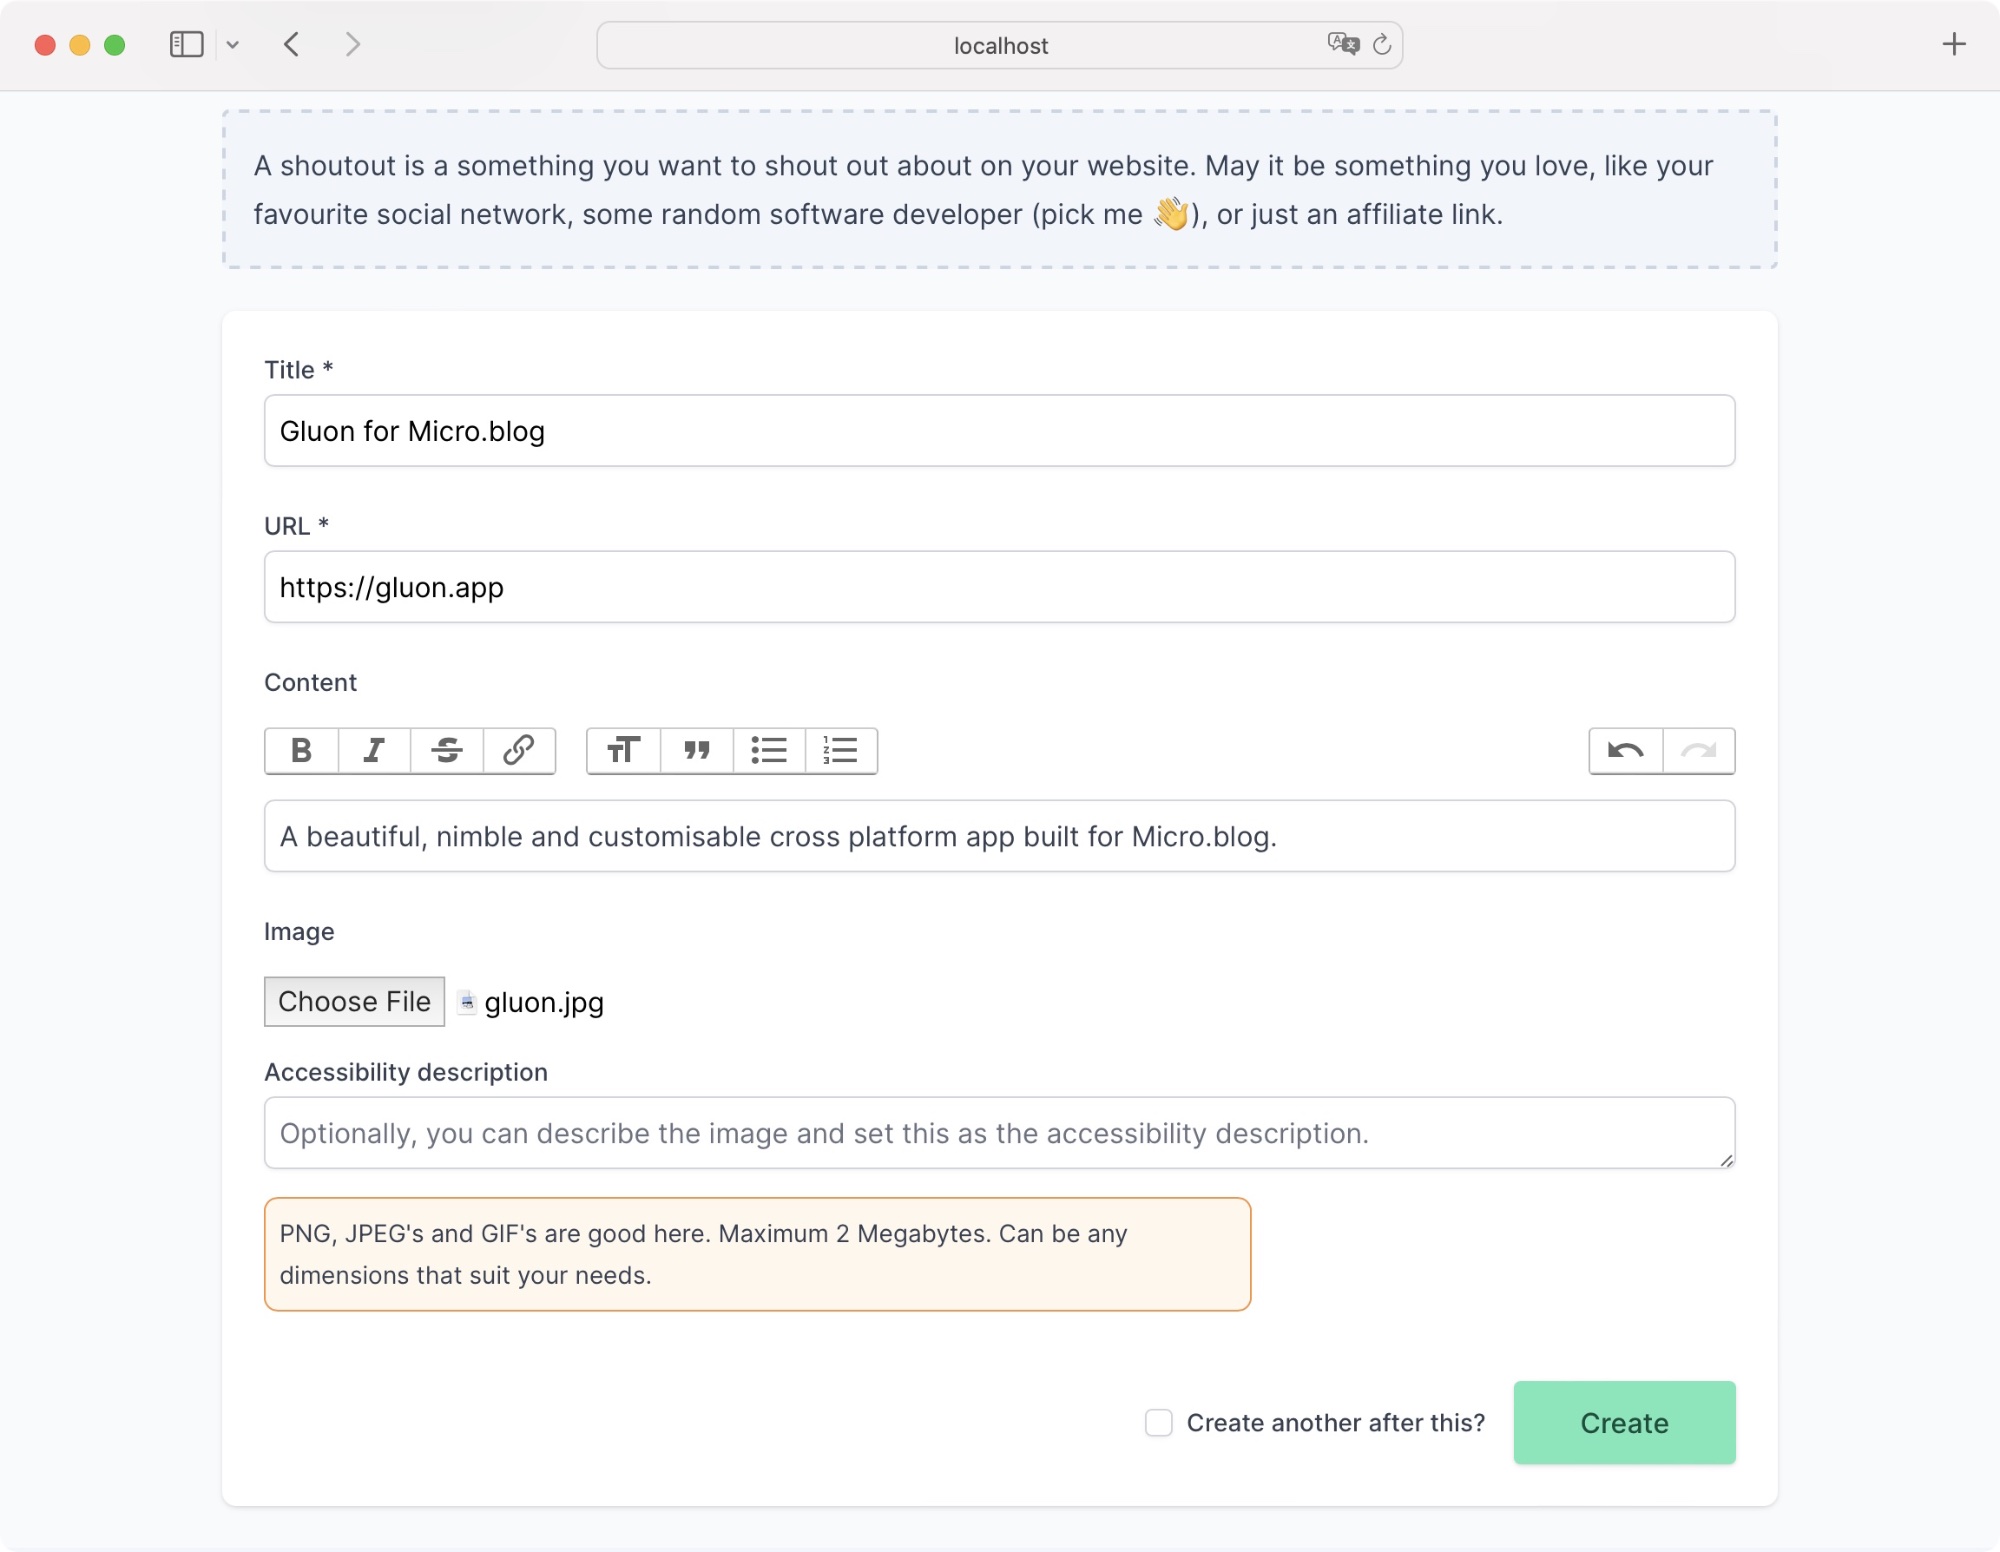
Here is what a full form could potentially look like:
Congrats, your first shout out was created!
All going well, as it should, your newly created shoutout will appear for you.
Shoutout details
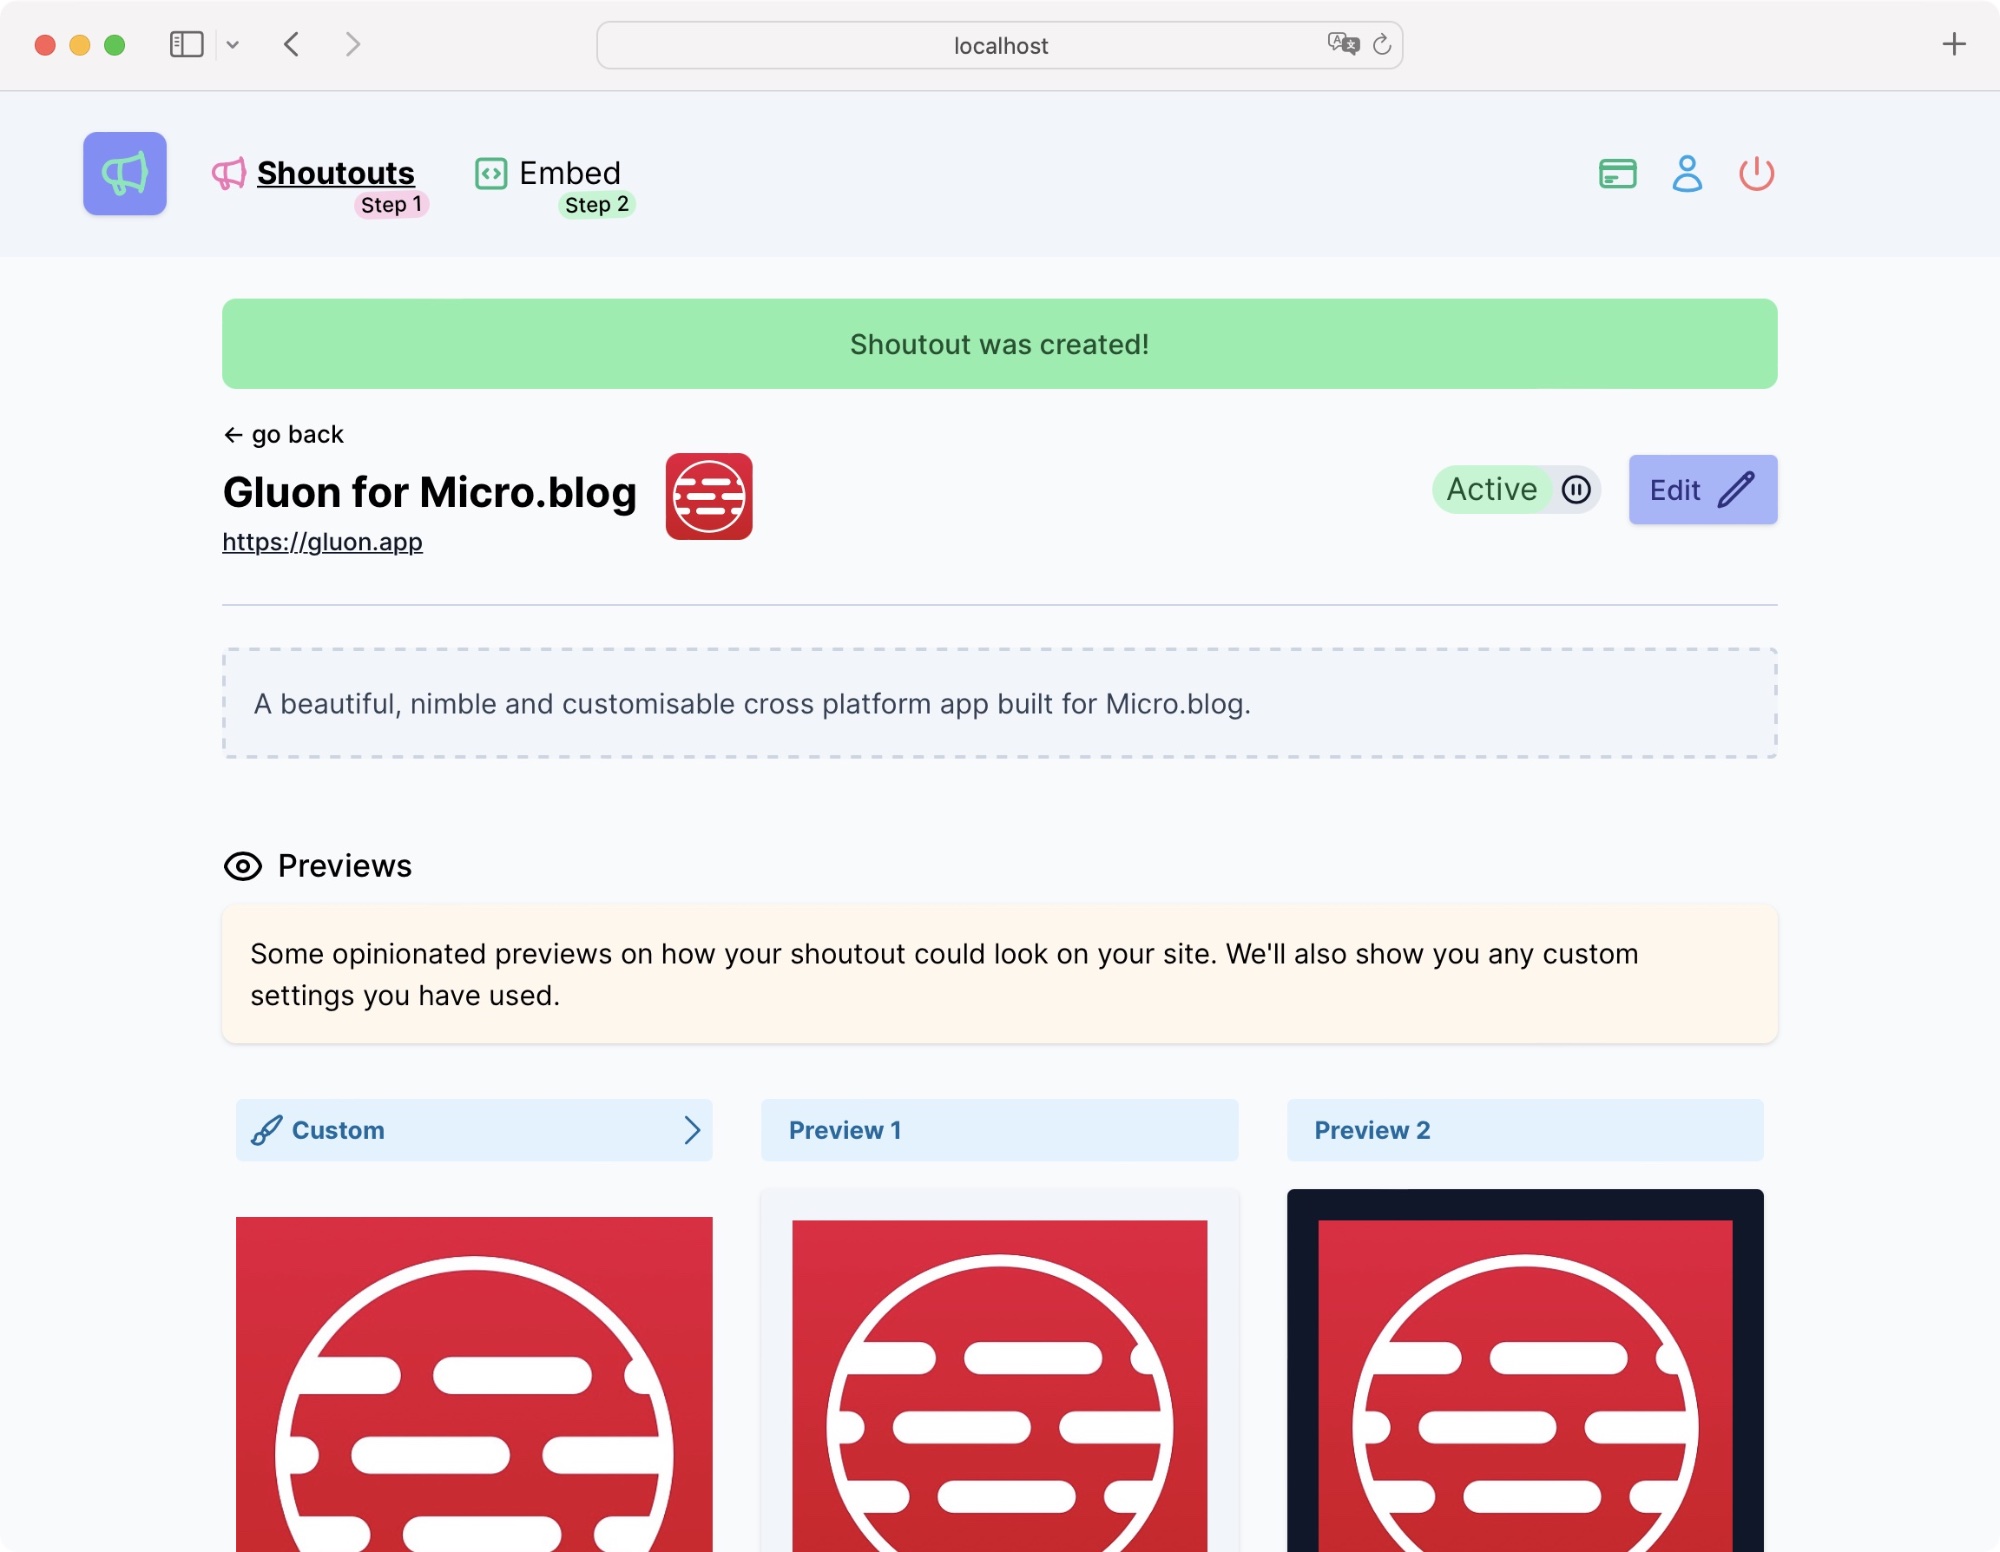
After creating, or selecting your shoutout from the list, you'll see the details view.
Everything at a glance, including previews of how it could look once embedded.
There is an option to edit your shoutout and even toggle its active status in the shoutout header area.
Previews
We'll show 2 opinionated previews for you embed, so you can see what they could potentially look like on your site with a little bit of styling.
Styles might not appear exactly the same on your site once embedded. This is because we use different styles compared to your site, so please experiment. In our case we use TailwindCSS, with the typography plugin.
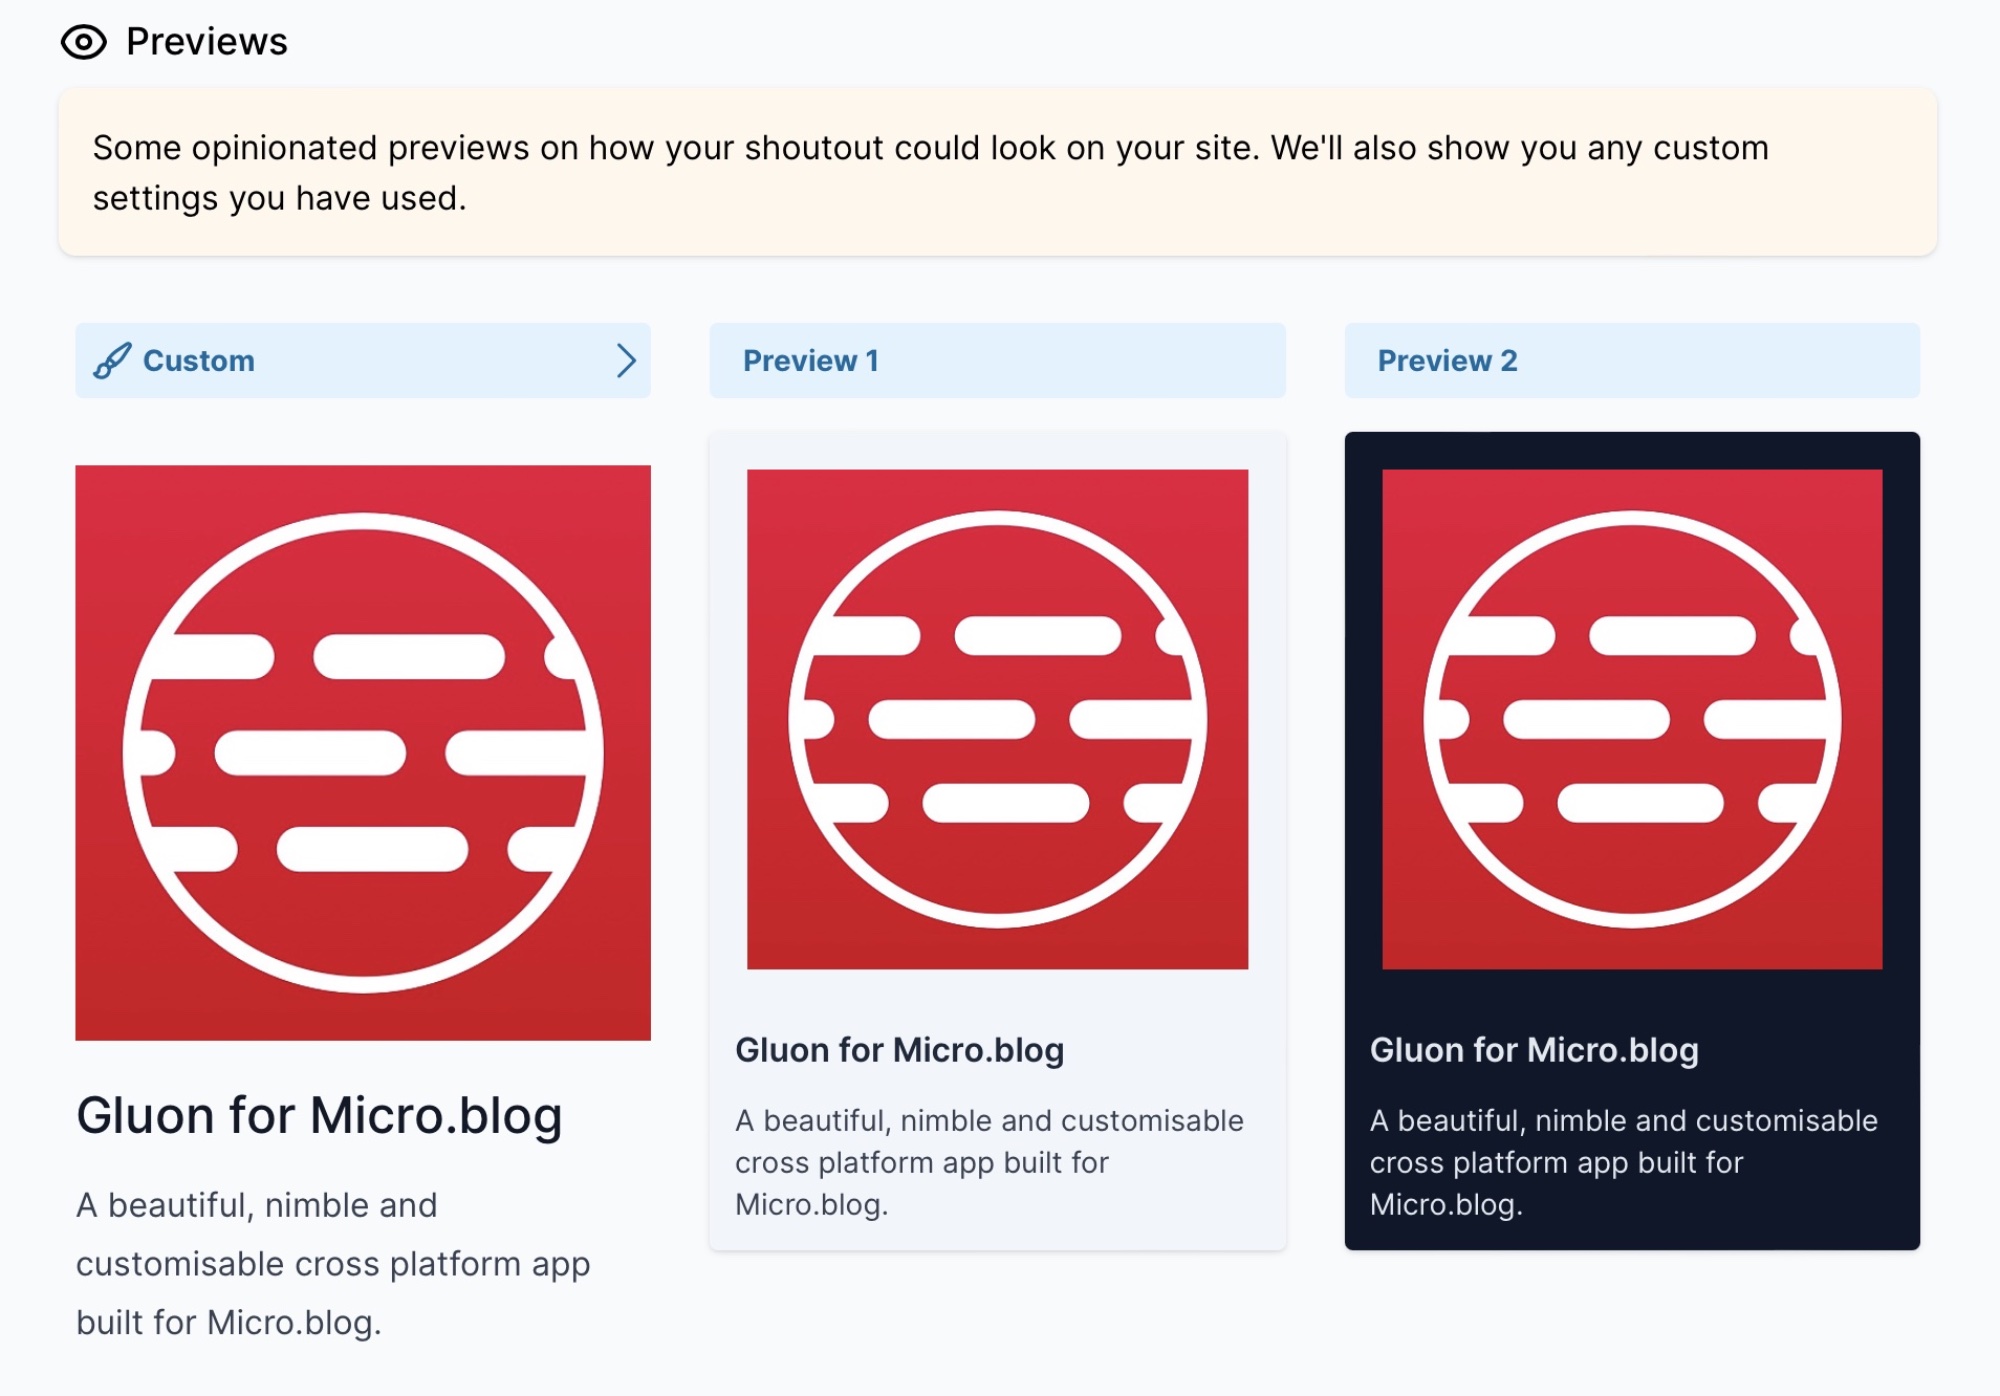
The first shoutout preview will always respect the options you have set in your embed options. We'll go over those in Step 2.
You can always select the Custom header to go to the embed options section on Step 2. It'll also preselect this shoutout for you so you can always work on the same one.
About shoutouts.lol
Shoutouts is an idea I stole from myself when I created Sublime Ads. I wanted something even simpler that is more accessible to your casual web user without all the features.
Contact us: [email protected]
Incredibly OK™ software by Vincent Ritter